
How to Select Education Images After Your School’s Photoshoot
Tips for Choosing the Best Pictures to Represent Your School
Introduction
School prospectus photoshoots are a brilliant opportunity to capture the essence of your school or college by showing it’s diversity and community, the student and teacher dynamics and of course the facilities. However, once the cameras are packed away, the next step is crucial: selecting the right education images to share the message. The images you choose will be seen by parents, prospective students, and the wider community, so it’s important to make thoughtful decisions. Here’s a guide to help you select the best education images after your school’s photoshoot.
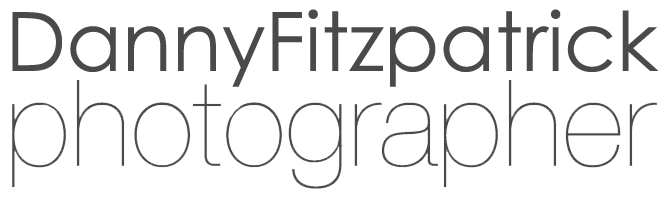
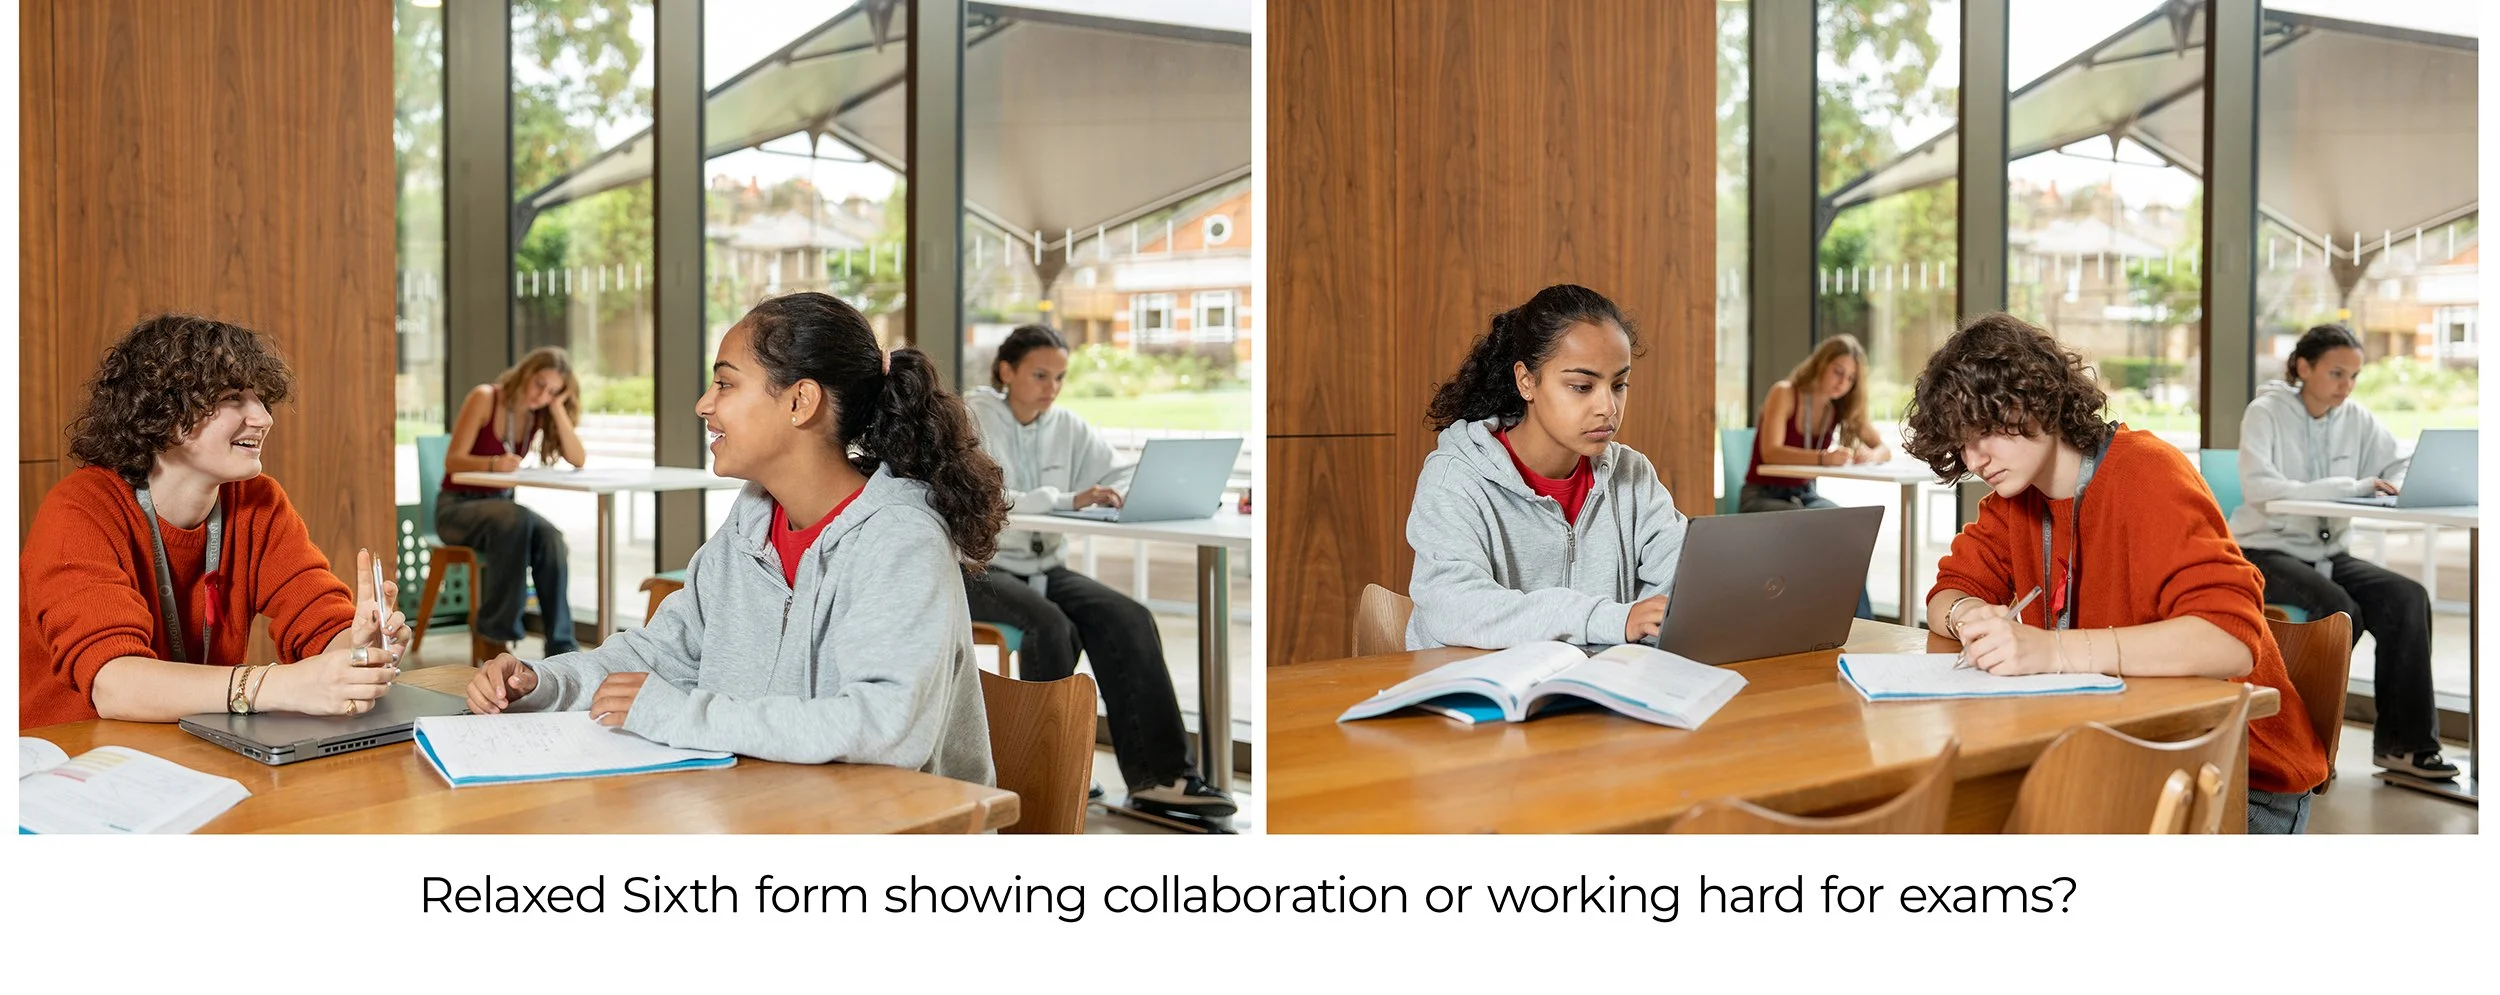
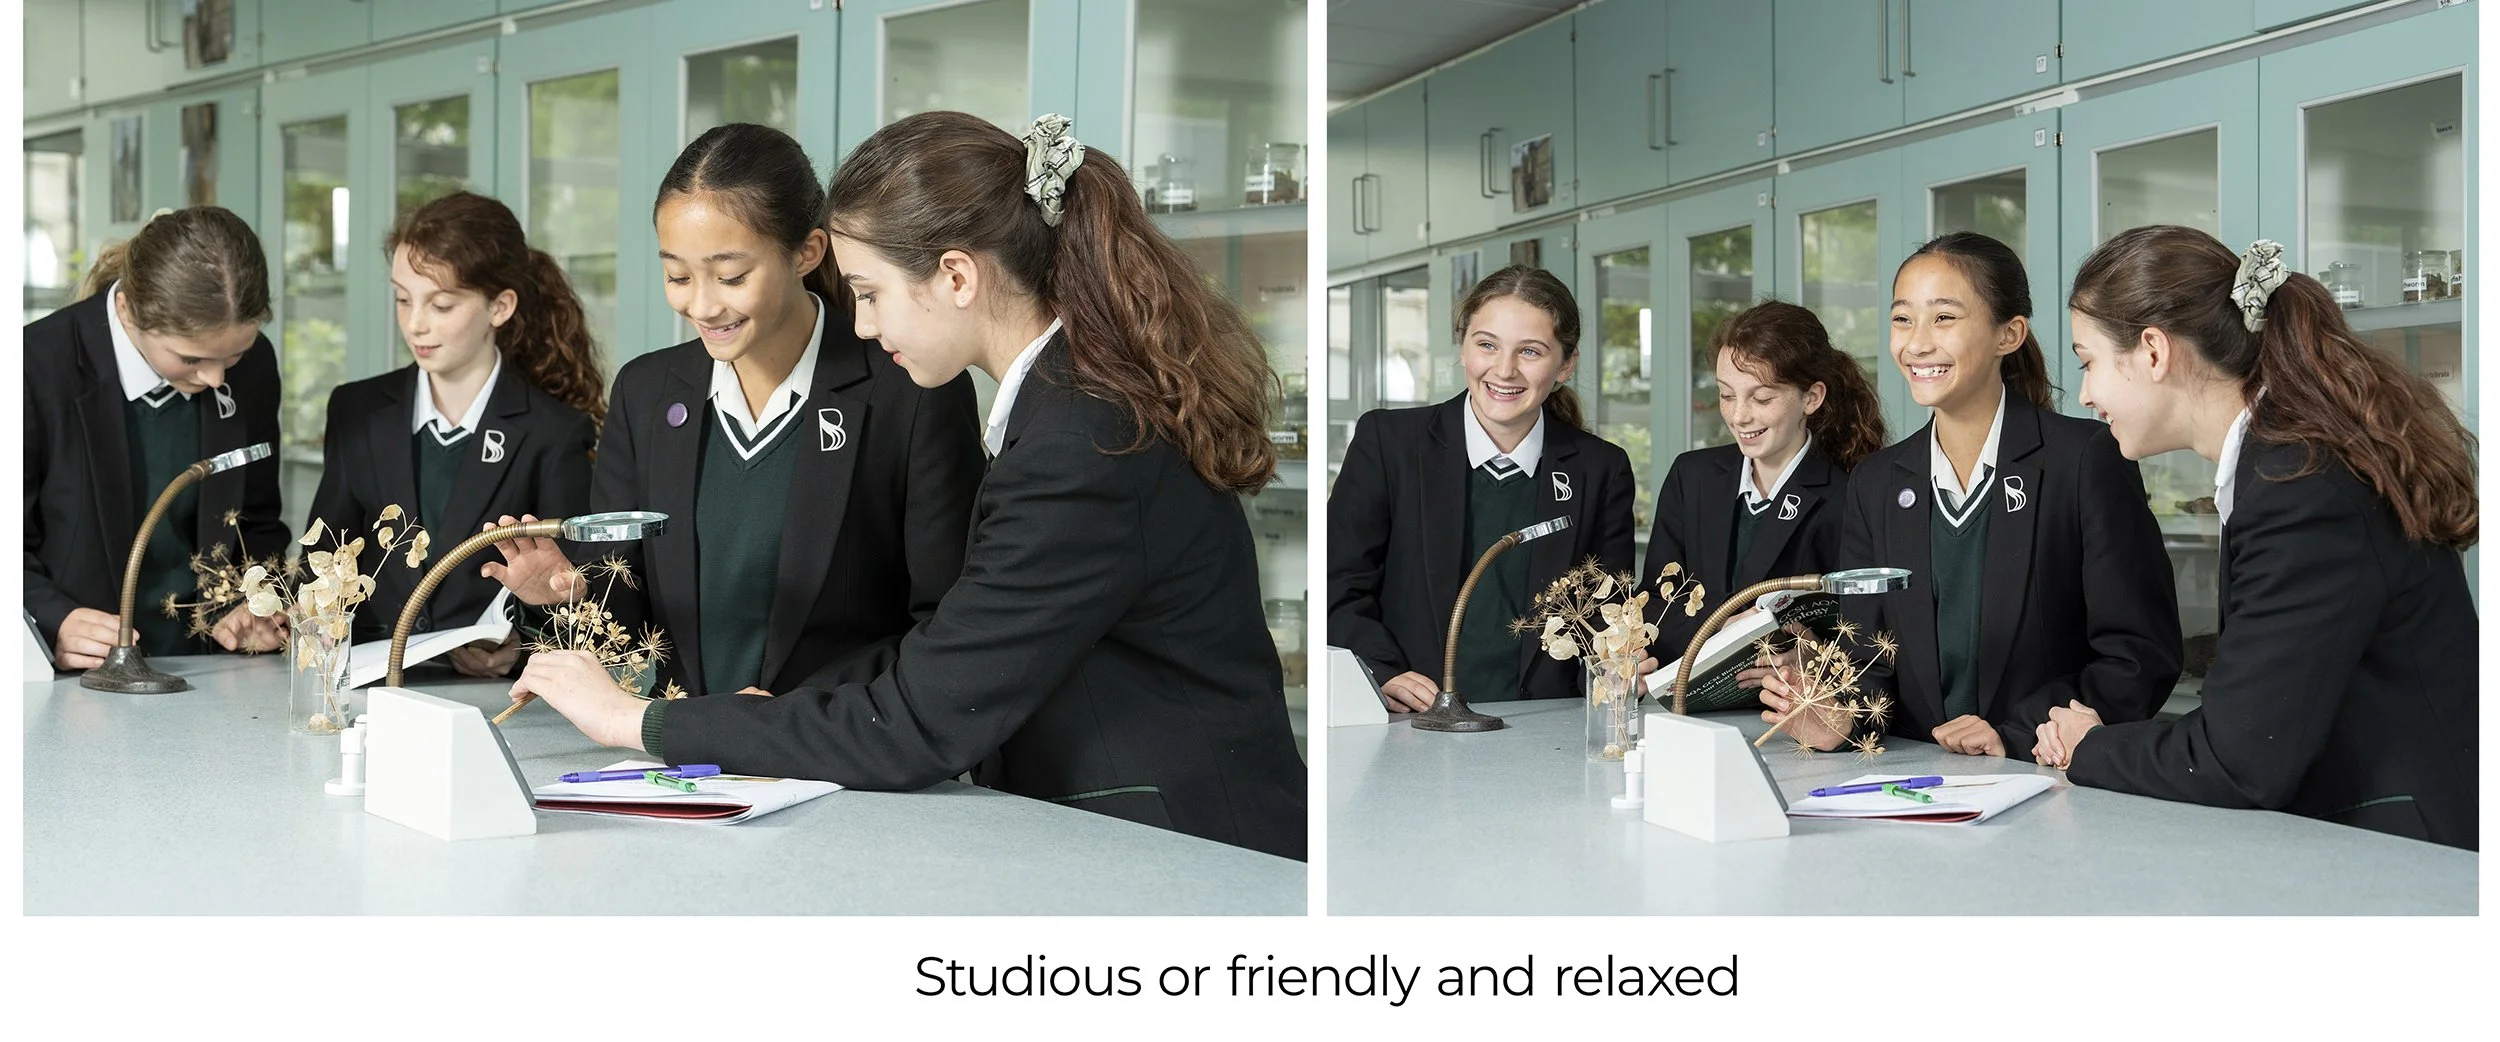
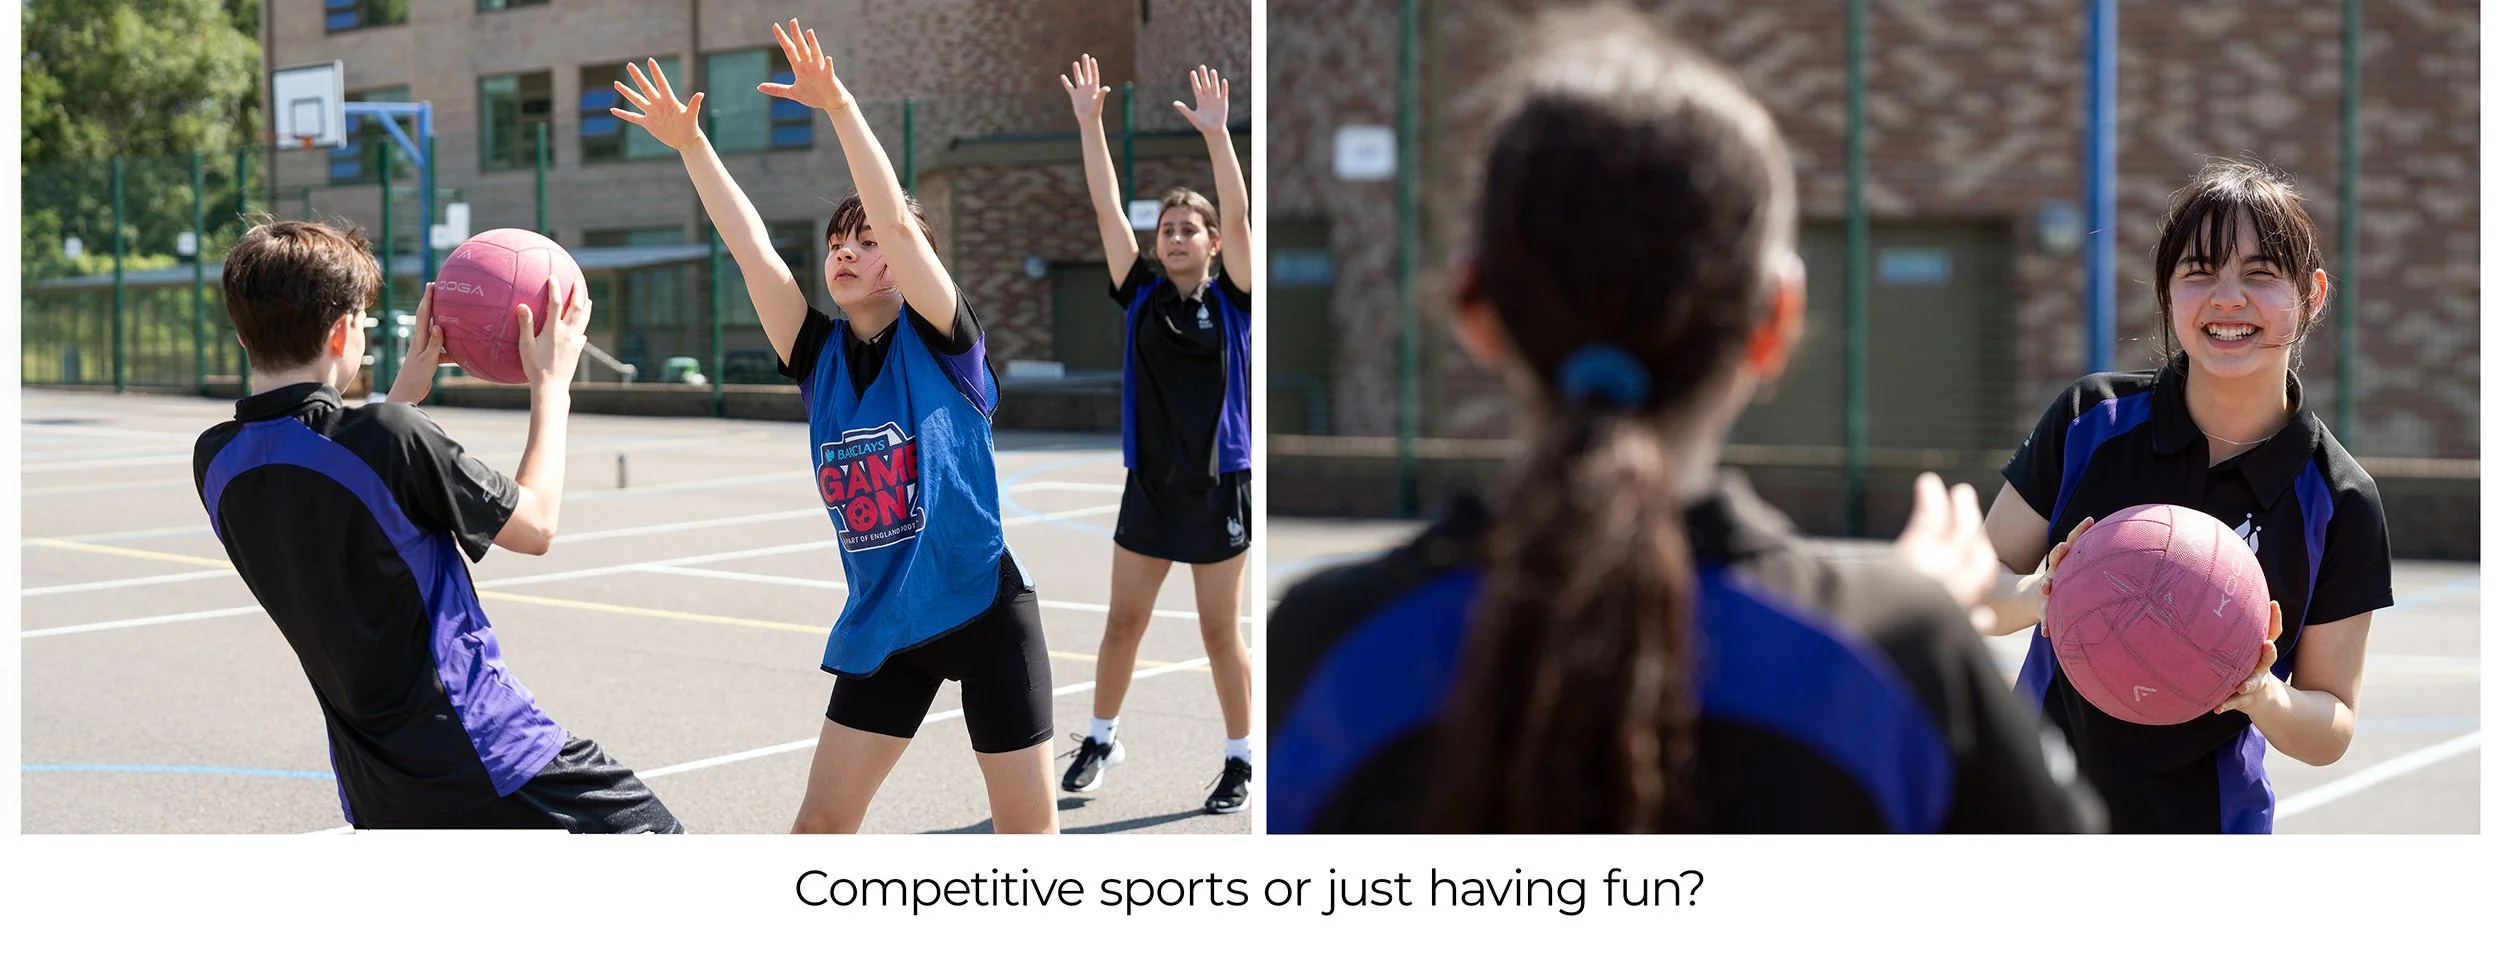
As an education photographer I avoid supplying schools, colleges and universities with a tightly edited selection of images after a photoshoot. I leave my edit a bit looser with each shot having a few different options so you can select which education images are best suited to the message you wish to portray. Some education establishments may want smiley happy faces in all pictures whilst others may want students looking thoughtful and pensive. It is all about the messaging so I edit my education images to allow flexibility to suit yours.
1. Create a filing system
First things first… don’t just download all your lovely new photos into a random folder on the desktop and leave them all in there. You want to create an image bank that you can easily access and use for a wide range of uses in the future so make it easy for yourself. “Location” and “subjects” and are the most obvious types of folders but it might also useful to include “relaxed”, “happy” “community” “supportive” etc as folders or sub folders so it is easier to dip in and out in the future. Another top tip is to add the year images were taken so you aren’t using education images that are 10 years old and the students have long since left. I always add dates to my file names but not all photographers do so having your own dating system will help especially if you add photos that are taken internally to the folders.
2. Define Your Purpose
Before sorting through the photos, clarify why you need them. Are they for the school website, prospectus, social media, or classroom displays? Different platforms require different approaches. For example, website images aften need to be a certain shapes, magazines often need “empty space” so copy can be overlayed whilst social media shots need to be dynamic, close up and eye catching.
3. Showcase Diversity and Inclusion
Education images should reflect the full spectrum of your school community. You can’t try and do that in a single photo for a billboard for example but it is important to represent diversity in terms of ethnicity, gender, religion and sexual orientation across your website and prospectus . This not only presents your school as inclusive but also ensures everyone feels represented.
4. Highlight School Values and Activities
Choose images that embody your school’s ethos and values. If your school prides itself on academic excellence, include images of students engaged in learning. For schools with strong arts or sports programmes, ensure those activities are featured prominently. The best education images tell a story about what makes your school unique.
5. Focus on Quality
Look for photos with good lighting, sharp focus, and balanced composition. Avoid images that may have been taken on a phone that are dark, soft or poorly framed. Quality is paramount—after all, these images represent your school to the outside world.
6. Select a Variety of Shots
Mix wide-angle images showing groups and facilities with close-ups highlighting individual achievement or expressions. A variety of education images keeps your visual content interesting and engaging.
7. Consult Others
Get feedback from teachers and students when selecting images. Ask them what feeling they get from two similar but different images – which one gives them the feeling that you are looking to share. Go back and talk to the photographer and see what they recommend for a particular billboard or advertising poster. They might spot photos that truly capture the school’s atmosphere or suggest images that were overlooked. Collaborative selection helps ensure the chosen education images resonate with the whole community.

Conclusion
Selecting education images after your school’s photoshoot is more than just picking the prettiest pictures. It’s about representing your school’s identity, values, and community. By following these steps, you’ll ensure your chosen education images make a positive and lasting impression.